Showing posts with label kneading. Show all posts

Monday, 3 June 2013

Bagels!

If there's one thing I miss from the states, it's the bagels.

Bagels are meant to have a chewy crust, doughy inside and be pleasantly plump.  Here, I find them lacking a bit in the chewy crust, and they're often more bread-like than bagel-like on the inside.  I decided to have a whack at attempting the fabled bagel...

They turned out a wee bit small and the holes shrunk, but taste-wise, spot-on.

Bagels

  • 4g dried, active yeast + 50ml warm water
  • 225g self-raising flour
  • 150ml warm water
  • 2 tablespoons sugar
  • 1 teaspoon salt
--

Dissolve your yeast and 1 tablespoon of sugar in the 50ml of warm water.  Stir and wait until it's frothy.

In the same bowl, add the 150ml of warm water, followed by the flour, in 50g increments.  Work together with a fork, then use your hands to mold it into a ball.  This is going to be a very soft dough, compared to the other bread doughs you've seen on this blog, so you might have to create your own new 'kneading' technique.  For this one, I oiled my hands, picked up the ball and simply threw it down into the bowl, over and over again.  It both stretched it and prevented the soft dough from sticking to my fingers.

Plus, it gave me an excuse to throw things.  Awesome.

Form into a ball, oil the sides of your bowl, and cover in clingfilm.


Let it rise for about an hour, or until it's at least doubled in size.  

Stare out the window while you wait.  Admire this strange 'sun' object.


Begin boiling a large pot of water.  Add the remaining 1 tablespoon of sugar to the water.  Re-oil your hands, and divide the mixture into 5 roughly equal sized balls (I totally failed at this).  To create the hole, I "spun" the dough around the handle of a spoon.  You definitely want the hole to be a bit bigger than you think, as it'll shrink massively during cooking.  Massively.

Also, click that oven on to 220C.

The key to getting chewy bagels is to boil them before baking them!  When your pot of water comes to a low boil, add one or two formed bagels to the water.  They'll rise to the top of the pot pretty quickly.  Give them about 1 minute on each side, flipping with a slotted spoon or spatula.


Drain them on the spoon/spatula, then place on your oiled baking sheet.  I used foil because my baking sheet ran away.


Repeat the boiling process with all of your dough balls/bagels-to-be.  


Make sure to add any toppings at this stage.  You can sea that I put sea salt on two, and drizzled honey on one.  The other two I left plain.


Such a weird texture pre-baking.  But it makes for the chewiness, so we'll deal with it.

Chuck 'em in the 220C oven for about 15 minutes, then turn down the oven to 200C for another 15-20min. I accidentally left them on 220C for a wee bit too long... 

They still taste nice!


The one on the right seems to have grown a horn... interesting...


Mmmmmmmmm butter.

These are pretty small sized bagels, so if you wanted ginormous ones (maybe for sandwiches or the like), you could do only 2 or 3 bagels out of this recipe.  

Tastes like home.

Wednesday, 22 May 2013

Honey Oat Bread

It's been awhile - here's a simple recipe to add to your bread repertoire!

I made a wee mistake with baking this baby and turned up the oven a bit too hot off the start, so it took longer to cook all the way through.  I'd suggest getting a good crust by baking at 200C/400F for 10 minutes, then letting it cook through at 180C/350F for another 30-45 minutes.  To see if it's done, turn it over and "knock" on the bottom.  If it sounds hollow, you're good to go!

Honey Oat Bread

  • 1 1/4 cups water
  • 2 tablespoons oil (vegetable is preferable, it has the mildest flavor)
  • 3 cups bread/strong flour (you could easily use whole wheat or white)
  • 1/2 cup jumbo oats (plus extra to sprinkle on top!)
  • 1 teaspoon salt
  • 2 teaspoons active dry yeast
  • 1 tablespoon honey
  • 2 tablespoons oatbran (optional)

My outdated oven, yay!

To get that nice golden-brown crust, I'd suggest rubbing milk or a beaten egg over the top of your bread before you bake it.  That also gives you a nice surface to sprinkle oats for some added crunch!


Enjoy!

See my other post for tips on bread-making!

Monday, 6 May 2013

Stuffed Wholemeal Loaf

Let's feed an army!  An army of ex-lightweight rowers, that is.

This recipe was inspired by this good looking thang.

--

The Loaf
  • 600g wholemeal flour (+ extra for kneading)
  • 2 cups water
  • Dash salt
  • 1 tablespoon runny honey
  • 2 tablespoons good quality virgin olive oil
The Extras
  • 400g new potatoes, boiled & peeled
  • 250g lean bacon, chopped
  • 175g extra mature cheddar, shredded
  • 1 bunch of parsley, finely chopped
  • 1 bunch spring onions, finely chopped
  • 450ml creme fraiche (I used 50% fat)
Follow the usual dough preparation, which you can find in one of my original posts: here.  Since it's a wholemeal loaf, it will take longer for the yeast to do its job, so cover it with oiled cling wrap and let it rise for at least 2-3 hours in a warm place.  This thing will become massive.


Punch down the dough, just to get rid of the excess air bubbles.  Take a little less than half of the dough and roll it out to a nice circle, about as big as a 9" pie pan.  Again, I don't play the 'rolling pin' game - just use your hands to push/pull/punch the dough into your shape.  Gives it way better texture, anyway.


Place this circle in your oiled and lightly floured pie pan.  Let it rest while you bring a big pan of water to a boil.  Plop in your 500g of new potatoes and let 'em go for 10ish minutes or until they're tender enough to get pricked by a fork.  Drain and let them cool in a colander before you peel them.

While they're cooling, mix your creme fraiche, cheddar and chopped parsley in a large bowl.  Season well with salt & pepper.

NOW WE LAYER!

Leaving a 2" border around the bottom, layer the ingredients (in this order) onto your bread base:
  • Diced, peeled potatoes
  • 1/2 of the creme fraiche mixture
  • Spring onions
  • Chopped bacon
  • Other 1/2 of creme fraiche mixture


Note: I didn't end up using all of the creme fraiche mixture.  

Roll/punch/shape out the rest of your dough.  Obviously it will need to be a bit bigger than your base, so you can crimp the edges and make sure nothing leaks out.  Brush the outside edges of this half with water, and lay that side face down on your pie.  Trim off the excess, pinch the edges and then crimp with a fork.  "Crimping with a fork" = shove the pointy bit of the fork down around the edge to seal the top and bottom together.


Bake for ~20 minutes on 220C, then another ~40 minutes on 180C.  If it starts to go wayyyy too dark, cover the top with foil.

The masterpiece.
--

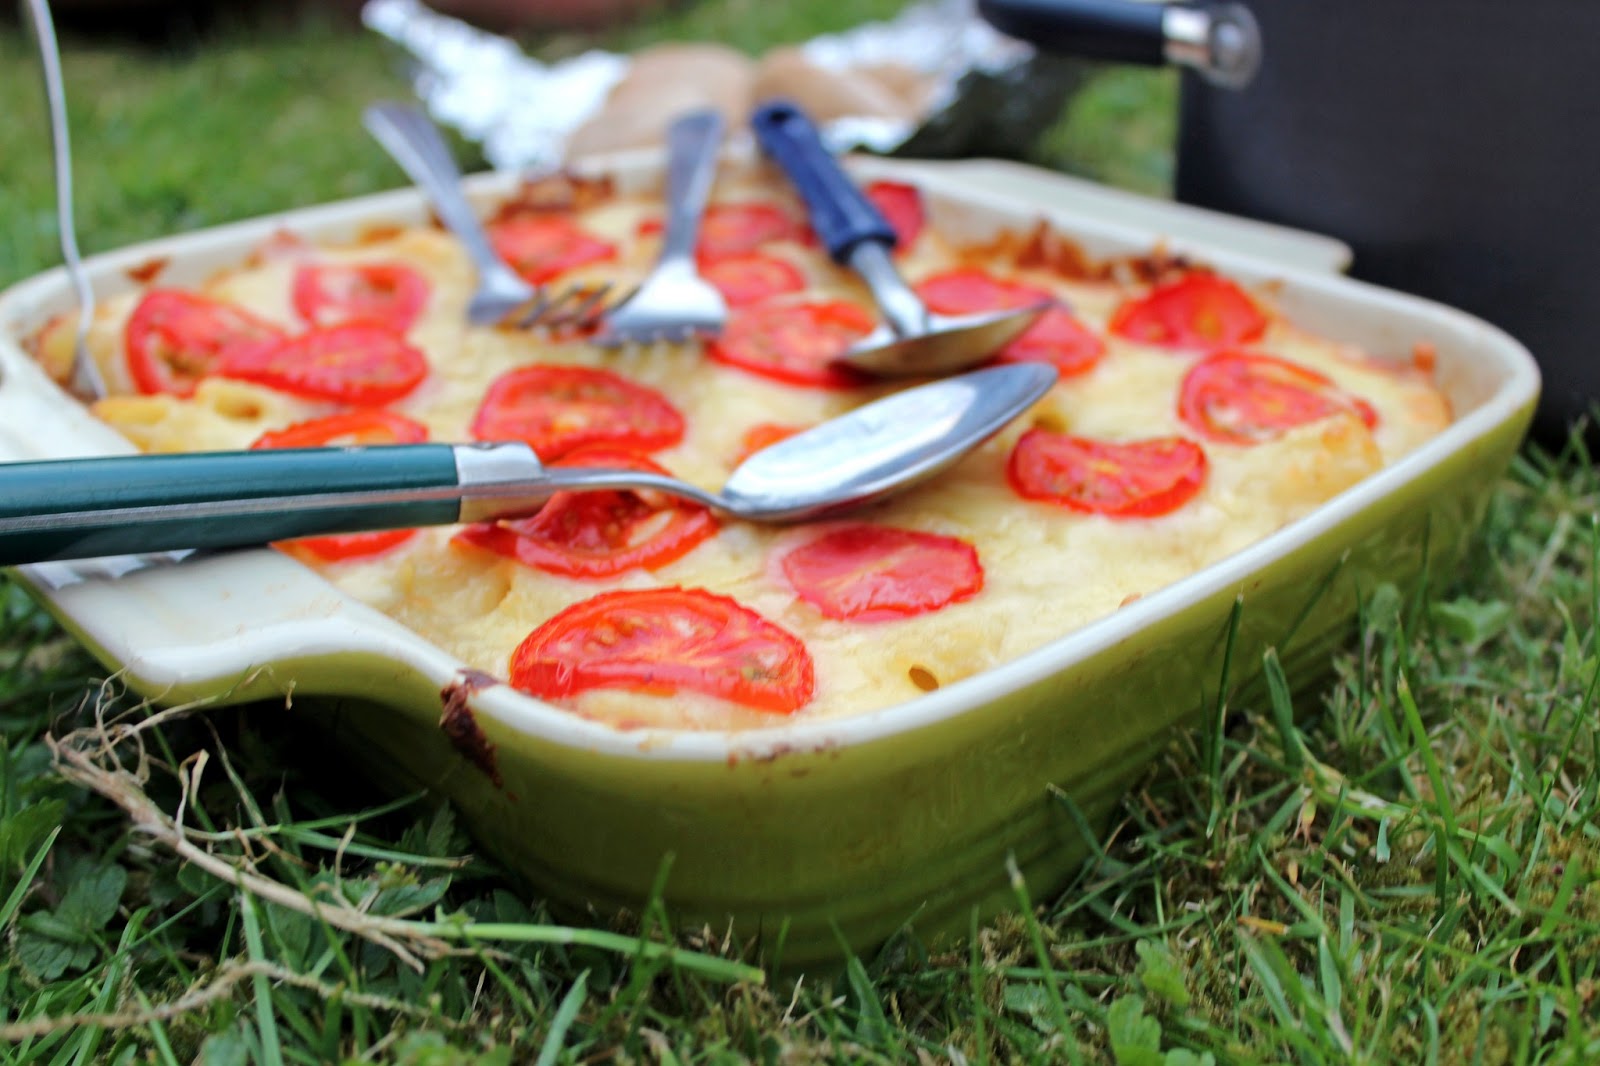
There were also delicious things on our "picnic..."


Happy spring, folks!

Monday, 8 April 2013

Let's get kneady, baby

First off:  THANKS FOR THE 1000+ PAGE VIEWS Y'ALL.  No idea who is reading this, and I hope you're not all stalkers... but thank you for boosting my ego.  I mean, boosting my confidence.  I'll stop now.  Bottom line: grazie!

I know I've left you guys hanging for a bit... my bad, my bad.  I figured that this blog would be taking a turn from concentrating on raw to focusing on baking in general, so today's entry might as well start the journey!

I've been dabbling in bread making for quite some time, but I think I'm finally getting the hang of it.  I used to HATE kneading the dough (add that to my list of awkward phobias), but I've gotten much better with it, and even kind of - gasp - enjoy it now.

So, be prepared to feast your eyes on the easiest of easy breads.  I make a lot of more complicated breads, where I measure and guestimate the specific ingredients, but I also make easy breads when I'm pressed for time.  Wright's Flours, here in the UK, make lovely "pre-made" bread flours that come in a variety of flavors (look here), and they're delightful to make into a huge loaf.  So, what better to start my tutorial on bread making than with an easy, no guessing recipe for y'all?

Sundried Tomato & Chilli Bread

  • 1 sachet of Wright's or any other pre-made bread flour mix (I obviously used the above named flavor)
  • 330ml water (or whatever the package specifies)
  • 1 tsp salt (bread mixes are always notoriously under-salted)
Pour dry ingredients into large bowl.  Add water to dry ingredients; mix with fork until you have this consistency:


I often find that I have to add a bit more or a bit less water to the mixture.  Rely on the texture to tell you if it's correct.


Let that mixed dough rest for about 5 minutes.  Flour your work space generously.  Seriously.  I think I ended up with flour down my shorts... but that's another story.


Plop that bad boy onto the floured surface.


It actually was this orange color in real life.  It's not just my crazy camera.  Very cool dough!  But, back to the process...

Now comes the best part.  The dough will be pretty darn sticky, which is a good thing, as it means the bread won't come out as a solid rock.  Flour your hands, and begin to roll the dough into itself, incorporating some of the flour on the work space.  In my famous words (and I'm sorry to those underage): knead the shit out of it.


I prefer the method of 1) form into ball, 2) smoosh ball in one direction, 3) turn smooshed ball, 4) smoosh in another direction.  Repeat.  But, whatever works for you.  The idea is to keep playing/kneading the dough until it is quite elastic and smooth.  It usually takes me about 8-10 minutes.

After you're satisfied with the texture of the dough, place it back in the bowl to "proof."  That yeast needs time to grow!  I like to put a bit of olive oil on the dough at this point, to keep the moisture in.  Just rub a tablespoon onto the surface.

Cover, and place in a warm area for at least an hour.  It needs to have at least doubled in size before you think about baking it!


I let this dough rise for 3.5 hours because I was in town, and it rose nicely!  Look at those yeasty bubbles:


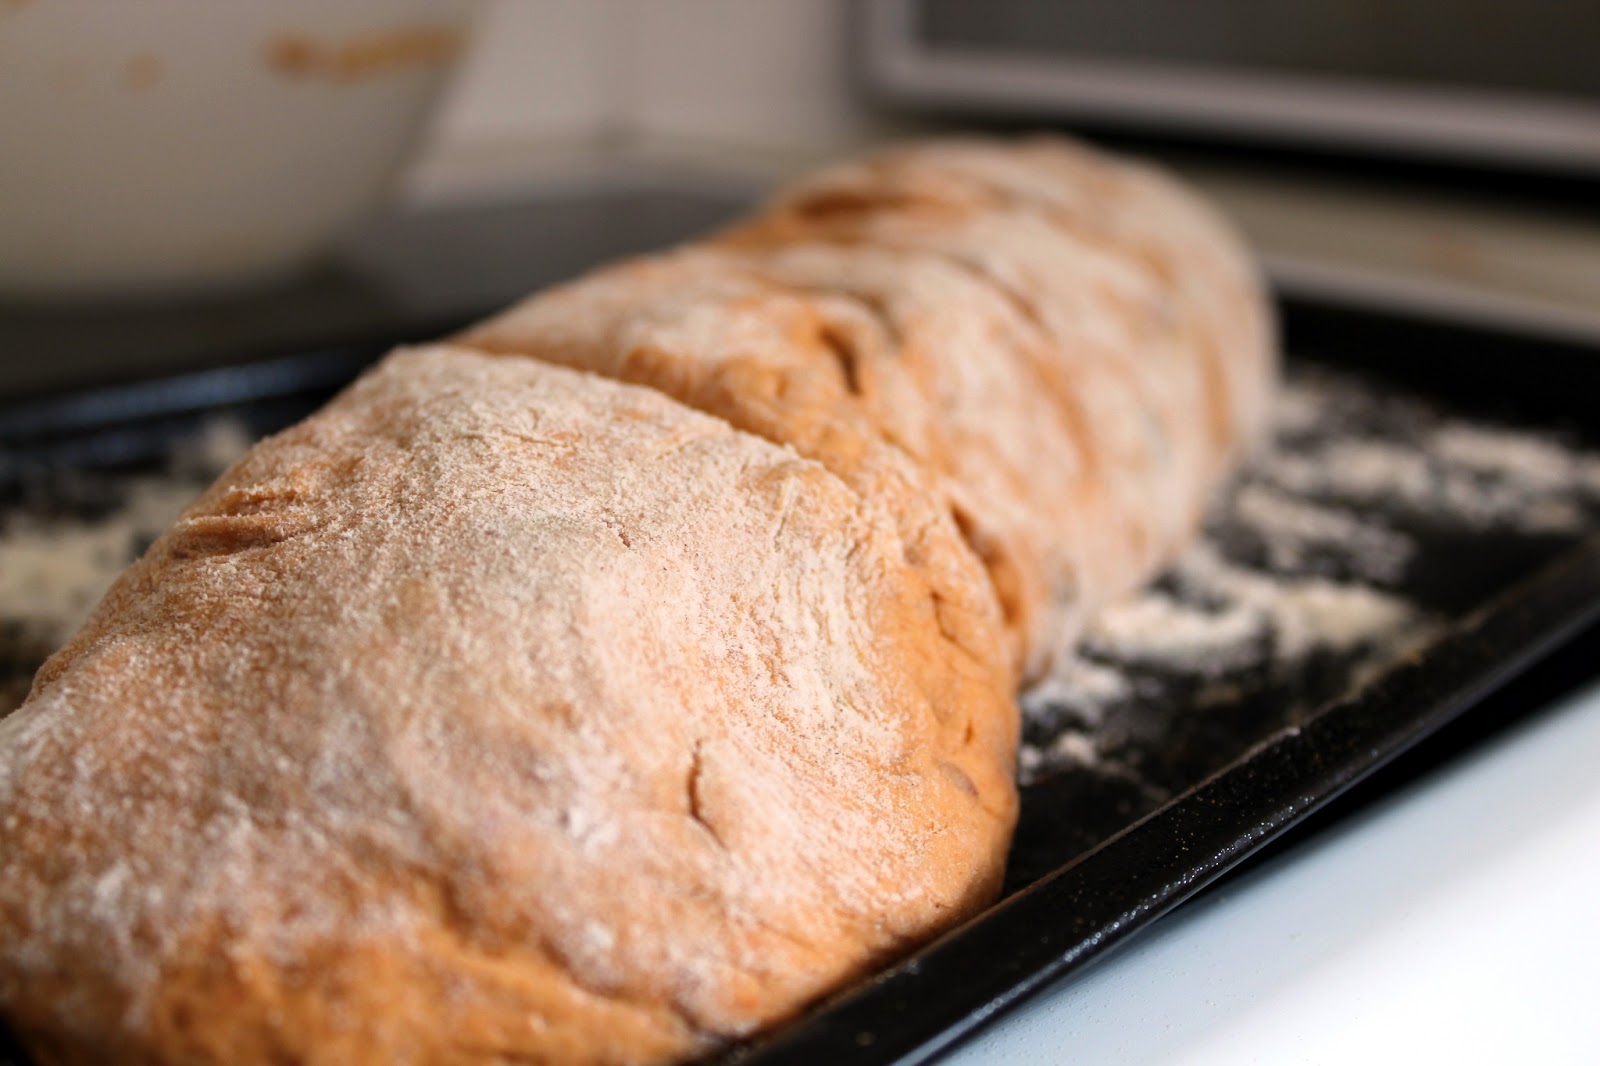
Punch down the dough, but be gentle as not to totally destroy all of the work that yeast has been doing!  Flour your counter again, and gently shape the dough into your desired shape.  I went for a bloomer type:


The slashes in the dough dictate how the dough will rise.  These kind of slashes are to help it rise evenly upwards and outwards, rather than in all sorts of directions.  I'm sure there's some serious science to it somewhere.  It also just looks nice...

Right.  You've preheated your oven to 230C/450F.  This is the tricky part.  The baking really depends on the oven itself.  My oven in college isn't terribly hot, so I tend to have the bread at this temperature for roughly 30 minutes (to get that delicious, thick crust), and then I turn down the heat to 180C/350F for about 15 minutes.  You will really have to play it by look, here.  Try not to open the oven door too much, but take a peak every once in awhile to assure that it's browning.  Once it's brown, take it out of the oven, turn it over, and tap on the bottom.  If the bread sounds hollow, you're good to go.

Note: it took me a few bakes to figure out what the correct "hollow" sound was.  Fear not.  When in doubt, stick it in the oven for another 5-10 minutes.  You won't hurt anything, and it beats having nasty, unbaked dough at the bottom of your loaf.

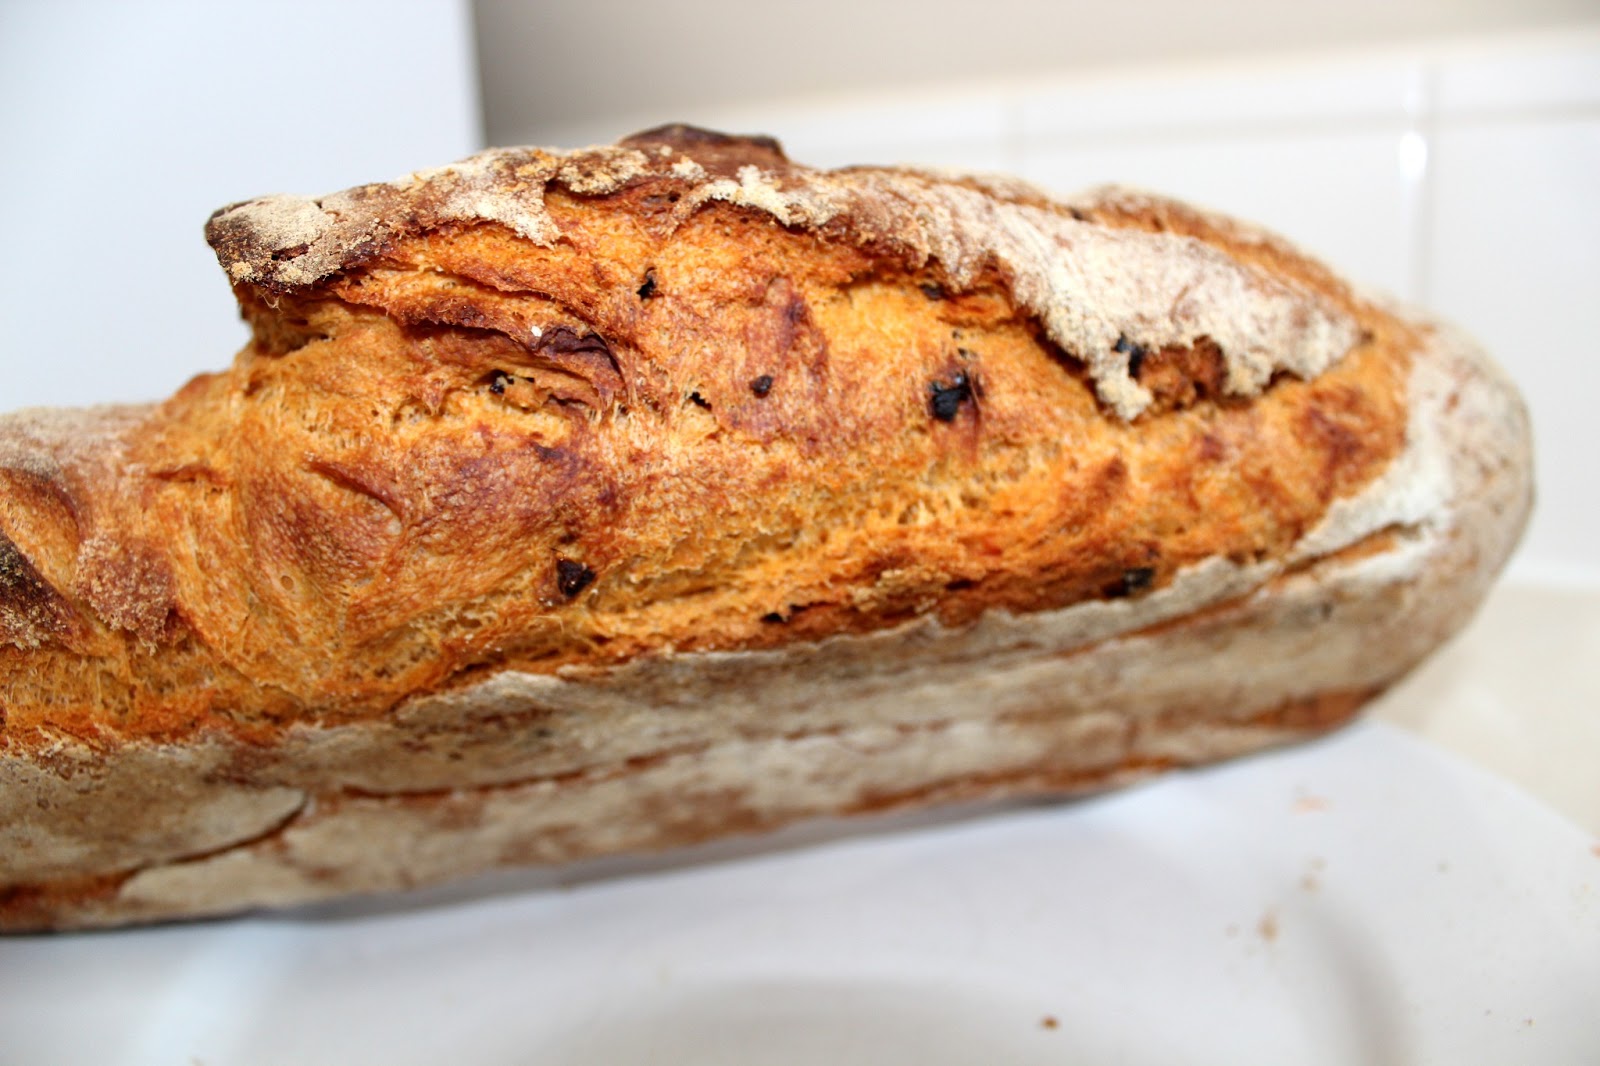
The finished product:


Happy bread making!